Publish map
The Publish map tool will generate a map application that can be embedded in a web page. You can customize the tools to include in the map application toolbar.
Note
GeoServer authentication is required to publish maps. For more information, please refer to the Login section.
Click Map on the GeoExplorer toolbar and click Publish map to display the Publish map dialog box.
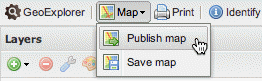
Publish map tool
Tool selection
The first panel of options allow you to select the tools you will require in the published map. By default, all the tools are selected. To remove a tool, clear the check box beside the tool you wish to exclude.
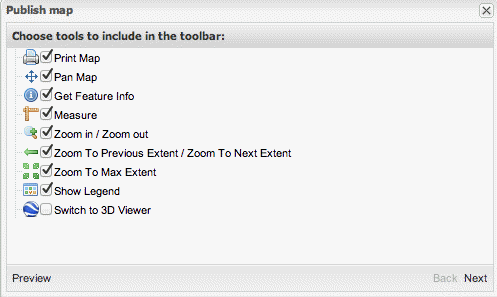
Publish map tool selection
Click the Preview button to generate a preview of the map application. The map preview will open in a new Preview window.

Previewing a map
The tools in the published map will include the tools you selected, plus the following two additional tools:
| Button | Name | Description |
|---|---|---|

|
Layer Switcher | A List of available Overlays and Base Maps. Click a layer in the list to switch the map display to that layer. |

|
About this Map | Displays information about the GeoExplorer application |
Close the Preview window to return to the Pubish map dialog box. Click Next to continue.
HTML generation
The next panel will contain the HMTL code for your map application. The predefined Map Size options are Mini (100x100 px), Small (200x300 px), Large (400x600 px), and Premium (600x800 px). You can adjust the Height and Width settings as required.
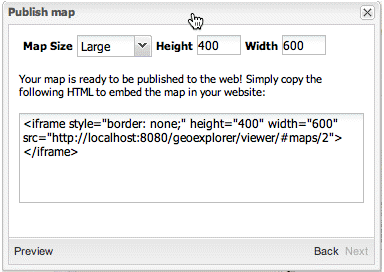
Generating HTML code
Copy this HTML code into a web page to display the map application.
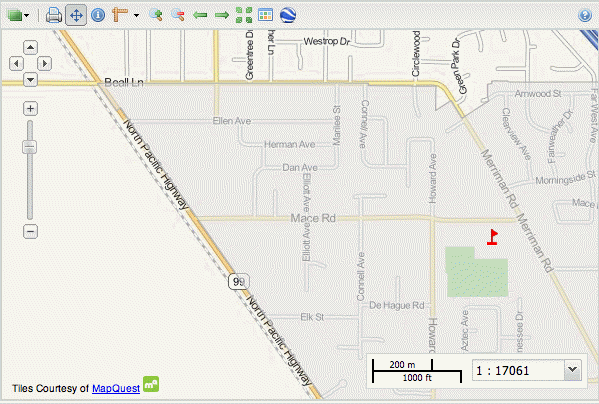
Published map