Installing QGIS on Windows
This section will describe how to install QGIS on Windows.
Unlike all of the other components of OpenGeo Suite which can be installed from a single installer package, QGIS is broken out into its own package and must be installed separately.
Prerequisites
QGIS can run on any recent hardware/software combination.
Install
To install QGIS:
At the Welcome screen, click Next.

Welcome screen
Read the License Agreement then click I Agree.

License agreement
Select the Destination folder where you would like to install QGIS, and click Next.

Destination folder for the installation
Select the name and location of the Start Menu folder to be created, and click Next.
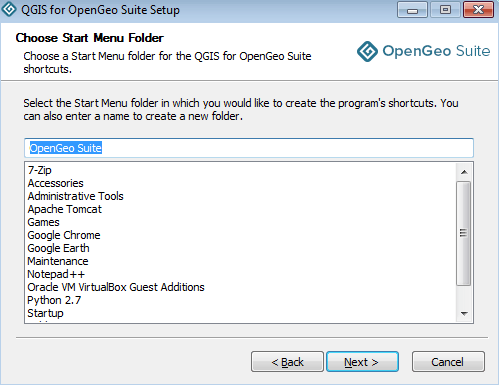
Start Menu folder to be created
Click Install to perform the intro.installation.
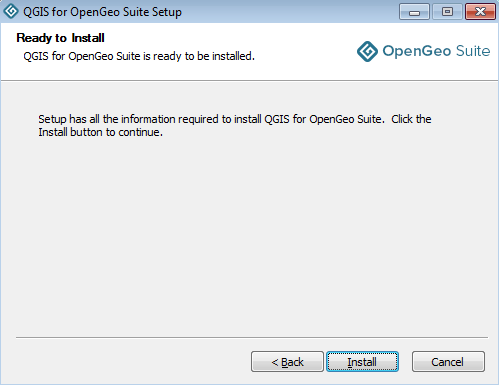
Ready to install
Please wait while the installation proceeds.

Installation
After installation, click Finish.

QGIS successfully installed
QGIS can be run from shortcut in the Start Menu. After a successful install and launch, you will see the main QGIS interface:
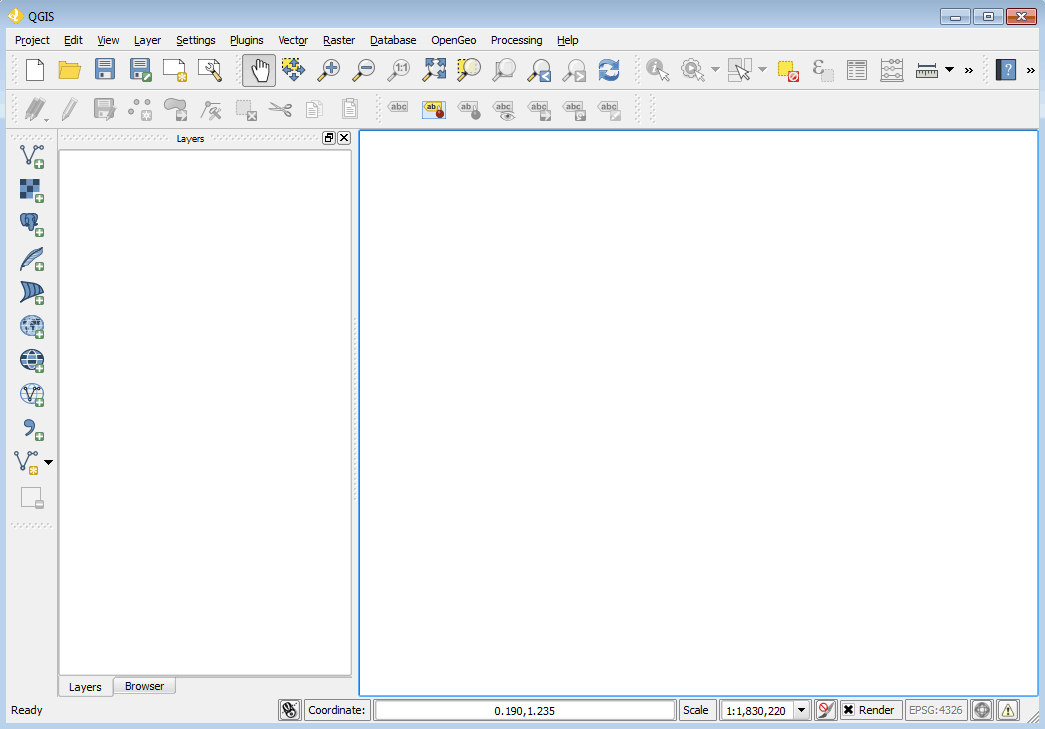
QGIS interface
For more information about about QGIS, including the OpenGeo Suite Explorer plugin, please see the QGIS documentation.
Uninstall
To remove QGIS, use the standard Windows program removal procedure (for example: ).